BookingTerminal’s Onboarding Process
Jarod LaFalce
Co-Founder / COO of BookingTerminal
Published on: Nov 26, 2024 | Estimated Read Time: 4 minutes
Thinking about bringing on a new booking management platform? If so, you’re probably wondering what the onboarding process looks like. For a lot of businesses, this is one of the biggest reasons to put off switching—they imagine it’ll be long and grueling. But I can confidently say that’s not the case with BookingTerminal. We’re all about keeping things easy for you, not just in how the software works, but in how we get you set up. So, let’s walk through the process together.
Demo
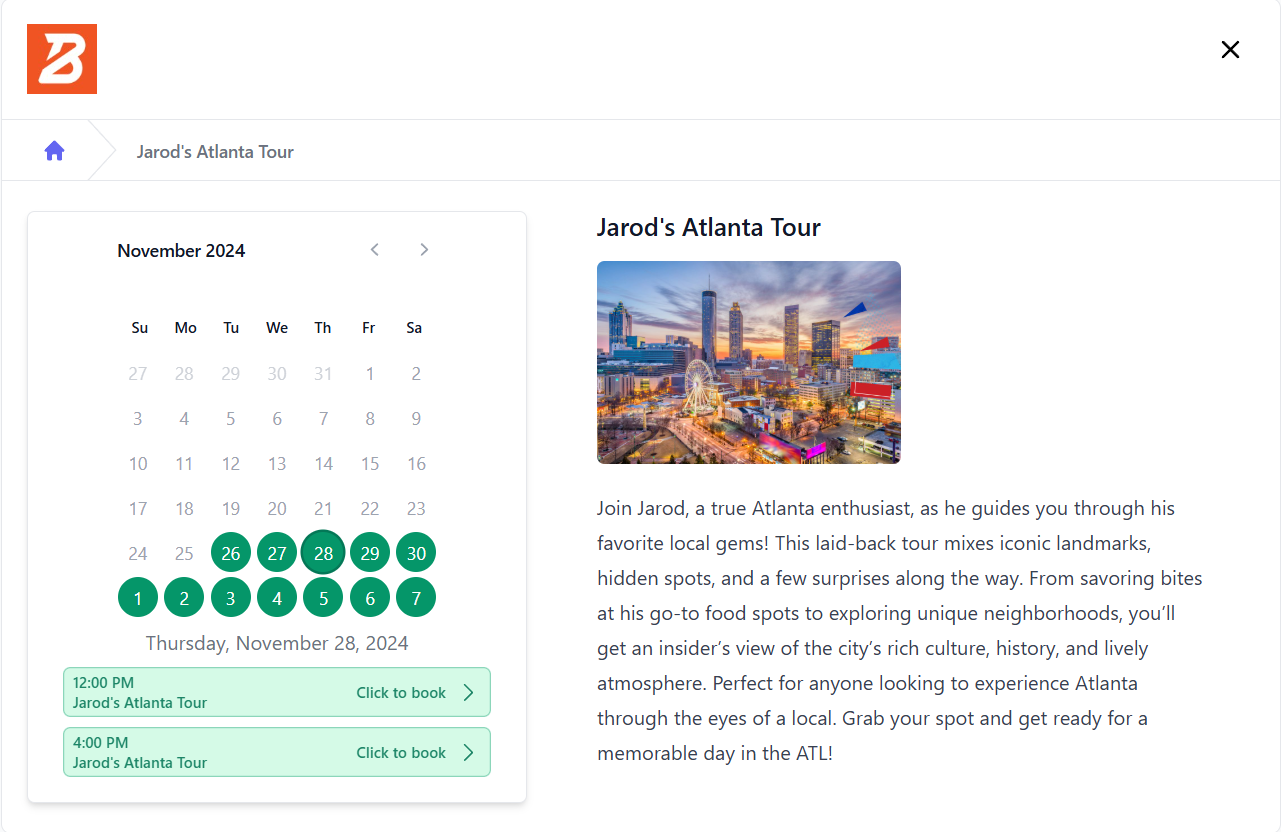
Before anything else, we start with a demo call to see if BookingTerminal is the right fit for your business. On the call, we’ll chat about your business’s background and what you’re hoping to achieve with a booking platform. From there, we’ll walk you through a custom dashboard built specifically for your business so you can see exactly how BookingTerminal would work for you. We’ll also show you the customer widget—this is what your customers will use to book directly on your website. The demo helps us make sure we’re a match before moving forward.
Want to see BookingTerminal in action?Schedule a demo to explore how it can streamline your bookings.
Initial Onboarding Meeting
Once you decide BookingTerminal is the one, we kick things off with a quick meeting to map out the next steps. We’ll go over your timeline and break down what we’ll need from you at each stage. There won’t be any surprises, and you’ll know how much time to set aside. That said, we’re all about making this process as hands-off as possible so you can stay focused on running your business.
Onboarding Forms
Next, you’ll fill out our onboarding forms. These are designed to collect all the info we need about your offerings so we can build your dashboard for you. Here’s the good part: we’ll pre-fill as much as we can using details from your website, saving you time and effort. All you’ll need to do is review what we’ve done, fill in any blanks, and confirm. Once that’s done, we’ll get to work building your dashboard.
Example Information Collected:
- Business Name & Contact Information
- Bookable Availabilities
- Bookable Pricing
- Bookable Descriptions
- Bookable Images
- Cancellation Policies
Stripe Connection
While we’re working on your dashboard, it’s time to connect your business to BookingTerminal’s Stripe account. This step makes sure payments are processed securely and that you’ll get daily payouts. Setting it up takes less than 10 minutes—all you need is your banking info.
.9f892e63.png)
Dashboard Review
Once your dashboard is ready, we’ll hop on another call to go over everything together. This is for you to make any tweaks or request extra customization. By the end of this step, your dashboard will be good to go!
Booking Migration
If you have bookings already confirmed for the future, we’ll help bring those into BookingTerminal so everything is in one place. There are two ways we can do this:
- Grant Access to Your Current System: If you’re using another booking platform, you can give us view access, and we’ll handle the migration for you.
- Spreadsheet Upload: If you’re not using a platform, or you’d rather not grant access, we’ll send you a simple spreadsheet template to fill out with your booking details.
Once the bookings are transferred, your availability will be up-to-date, and you can manage everything from your new dashboard.
Website Integration
The last step is getting our booking widget on your website so customers can start booking. You’ve got two options here:
- We’ll send you two small code snippets that you (or your web developer) can add.
- Or, if you’d prefer, we can take care of it for you if you give us access to your website’s codebase.
To make booking super easy for your customers, we suggest adding “Book Now” buttons to your site’s header and on key pages.

Start Taking Bookings!
And that’s it—you’re officially live and ready to take bookings! Best of all, this setup doesn’t cost you a thing, and our team is with you every step of the way. Plus, once you’re live, we don’t disappear. We’re always a call or email away to make sure you’re comfortable using your new software.
If you’re curious about how simple it really is, schedule a demo today!